Spray Paint it the Best Thing Ever

After my family, of course.  Thanks to spray paint, I turned this corner of our room…

DSC_5813

… into this.

DSC_5821

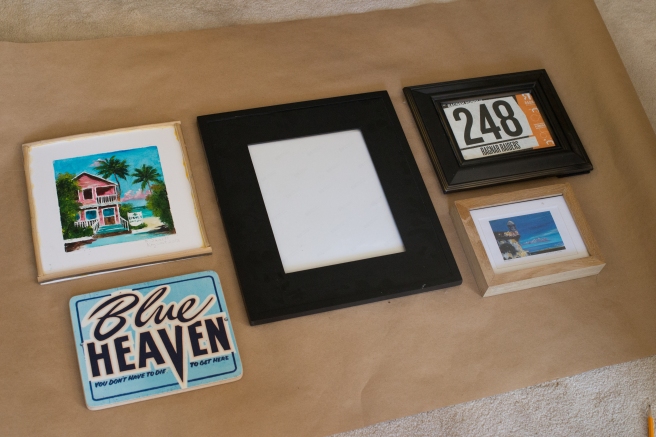
Much better, for a total cost of $7.99.  To bang out this little update, I started by laying out a bunch of things we already had out on the floor.

DSC_5812

The painting on the top left is something I picked up from a sidewalk artist in Key West.  Hubs and I ran a relay race there a few months after we started dating, and had the most amazing trip.  The sign is a replica of one that hangs at our favorite restaurant in Key West, and I put our race bib in the frame on the top right.  I had a postcard from our honeymoon in Puerto Rico, and snagged an unused frame from another place in the house, along with the big black one in the middle. I didn’t have a photo for this one, and I really wasn’t digging the heavy black frames. But, I figured I’d get them on the wall and see.

I traced the frames onto brown shipping paper, measuring to make sure they were level across the top, and all the margins were just about an inch.  I then measured where the nail holes need to be for each frame, and then taped the whole thing up to the wall, making sure the center frame was in the middle of the wall, and the top edge was level.

DSC_5815 DSC_5818

I hammered the nails in the right spot, and then peeled the paper away and hung the photos and art.

DSC_5819

Still hated the black, and couldn’t find anything to fill the big frame, so I hopped on Walgreen’s website and with the coupon BIGSMALL, I snagged an 8×10 print from our wedding for a cool $2.  I swung by Michael’s and got some Krylon Semi Gloss spray paint in white, and then sprayed both black frames.  This was my first time using spray paint, and there were some blunders.  First, that little nozzle is not stopper.  If you pull it out, paint will drip everywhere.  Leave it in, and turn it in the direction you are painting.  Yeesh.  It took two coats to completely cover the black, but they dried quickly, and turned out pretty neat.

Although the finish isn’t perfect, I’m happy with the results, and especially happy with the price tag.

DSC_5823

Any spray paint/picture hanging tips out there for next time?  I’m definitely trying this again!

The demo that never ends

DSC_0336

floor

The [endless] demo of the kitchen continues.  Hubs started working on the old vinyl tile this weekend, using a reciprocating saw fitted with a chisel tool to get under each tile and get it up.  Unfortunately, we are left with a very sticky underlayment until we can get the new floor down, which won’t be awhile.  Our first contractor seems to have gotten caught up in other projects, so we are meeting with someone new today in the hopes of getting the electrical and wall repair taken care of.  Here’s a snag of what we are ordering to update the floor.  It’s a vinyl tile product called Ceramica by Traffic Master.  We opted for this because it looks a lot better than the regular peel-and-stick, and it’s an inexpensive update for the Phase 1 renovation.  If we end up getting to stay here longer, we can update with a more expensive flooring when we get new cabinets, etc.

In hopes of making us feel like we are making progress, we stopped at the Benjamin Moore shop to grab some paint samples.  We wanted to be able to look at them over time and see what we thought.

DSC_5445 DSC_5442I’m looking for something with enough contrast to make the white trim (and eventually white cabinets) pop, but light enough that it keeps the space airy. I’m leaning towards the second from the top.  Hubs thinks they all look the same.


And the Walls Come Tumbling Down…

DSC_0293 DSC_0309 DSC_0310 DSC_0312 DSC_0314 DSC_0328 DSC_0329

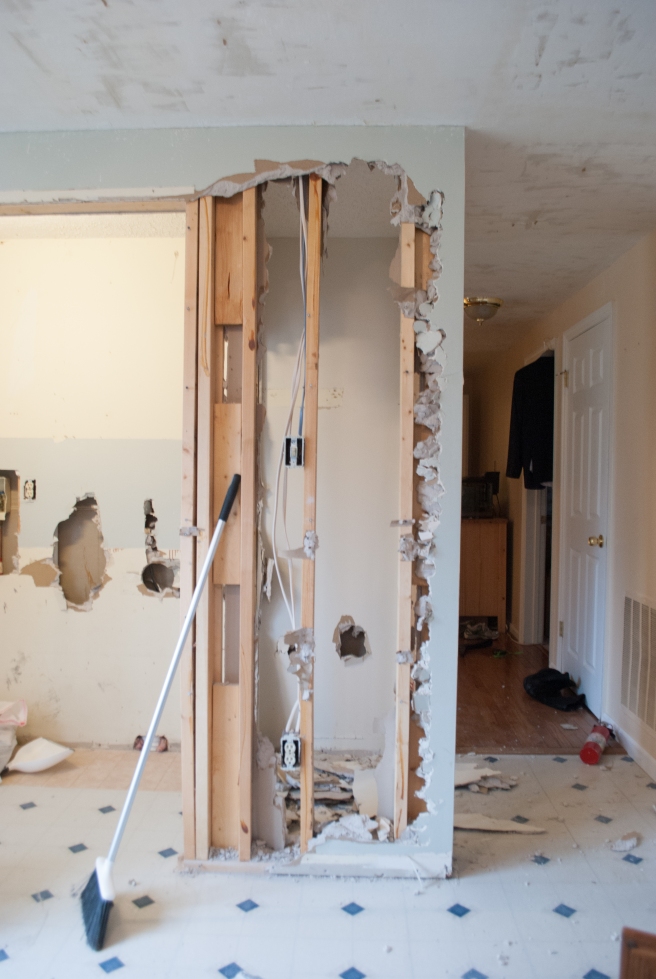
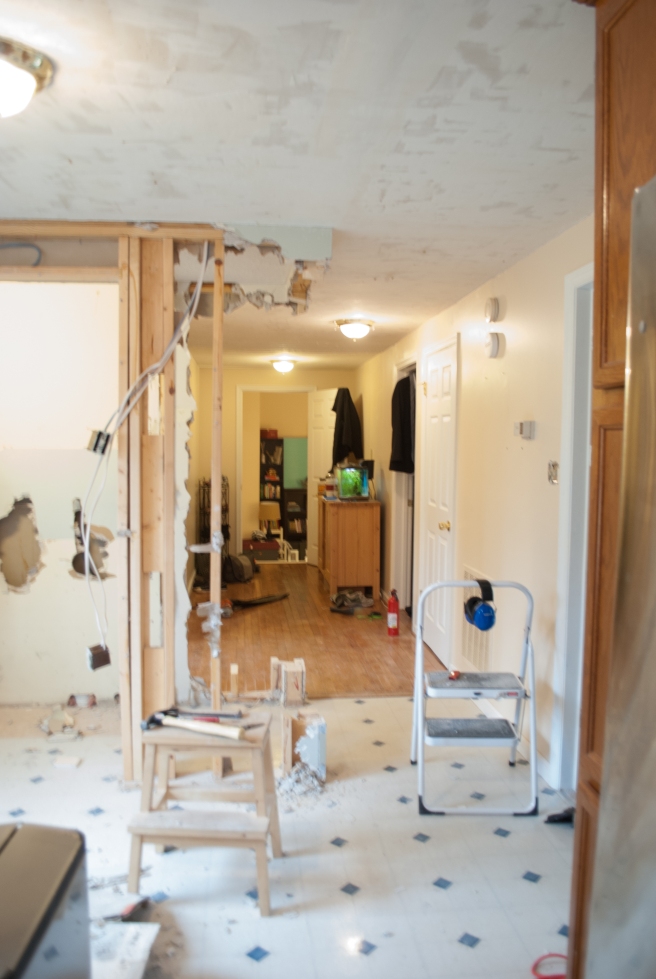
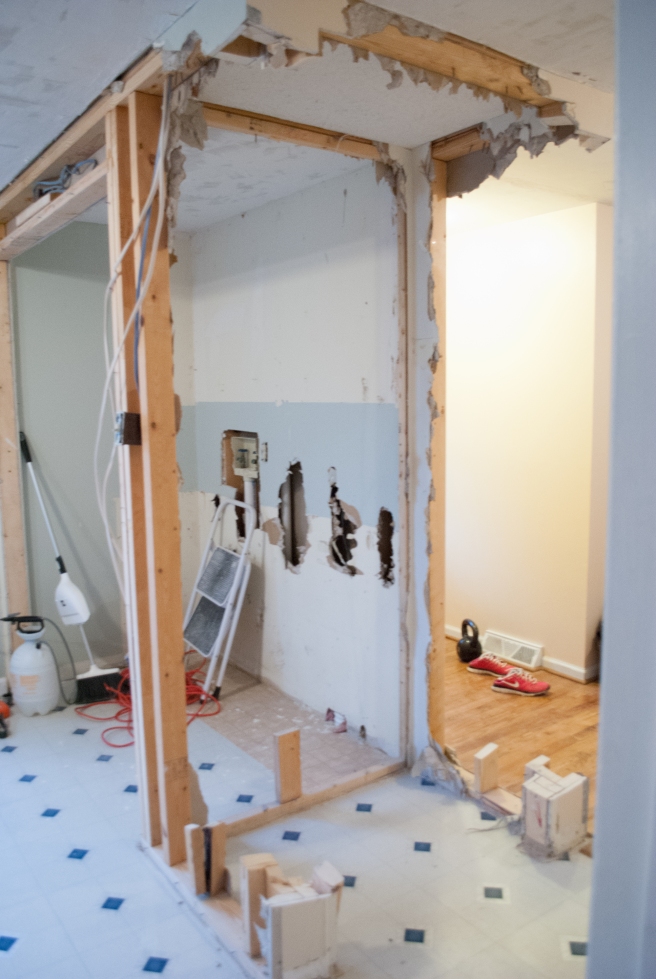
This weekend afforded me my first chance to swing a sledge hammer at a wall, and I’m not going to lie, it was pretty fun!  We started out Friday night by removing all the trim from any surfaces that were coming down.  We got up first thing Saturday morning, and started removing drywall.  It didn’t take very long to get it down, especially with a hammer-one-side-and-just-kick-the-other-side-through method.  It took twice as long to clean up the mess, however.  There was dust and debris everywhere.  After the drywall was down, Hubs started cutting away studs with a saws-all.  Our contractor recommended this method, rather than hammering them out.  This way, there are no unsafe nails hanging out, and the base can be pried out with the nails in tact.  It was a good idea with little girls running around the house.

We managed to get out the studs that framed the old closet, and now we are in a holding pattern waiting to get on our contractor’s schedule to move the electrical.  In the meantime, we are planning to scrape up the old 80’s vinyl tile next.  Let the mess continue. At least not everyone is sick of the mess…

DSC_0330

Any tips for working on getting this tile up?  It seems a little… stubborn.

The tale of a mouse, a lot of water, and a putty knife

A few weeks ago, Hubs snagged a little meecer in a humane catch-and-release trap after we found some evidence of the little guy in the oven drawer (yuck!).  We celebrated his exodus and thought that was the end of it.  That is, until Hubs later discovered a slow leak from the water supply line for the fridge.IMG_0064 IMG_0066

Sorry for the iPhone photos, but there was no way I could handle worrying about real photos in the midst of this mess.  Thankfully, the ServPro guys were out lickety-split and got to work drying everything out.

IMG_2768DSC_0237 DSC_0245 DSC_0248


By the time everything was said and done, we had damage to our base cabinets, the laminate flooring, the underlayment, the trim, and the insulation in the crawl space under the house.  It wasn’t nearly as bad as it could have been, and we breathed a sigh of relief.  Now that we are digging into replacing the floors, it made sense to work on removing a weird wall that separates the kitchen from the entry. The space used to the laundry area before the previous owners relocated those to a new laundry room off the TV room.  Now it’ just awkward, and breaks up the space.

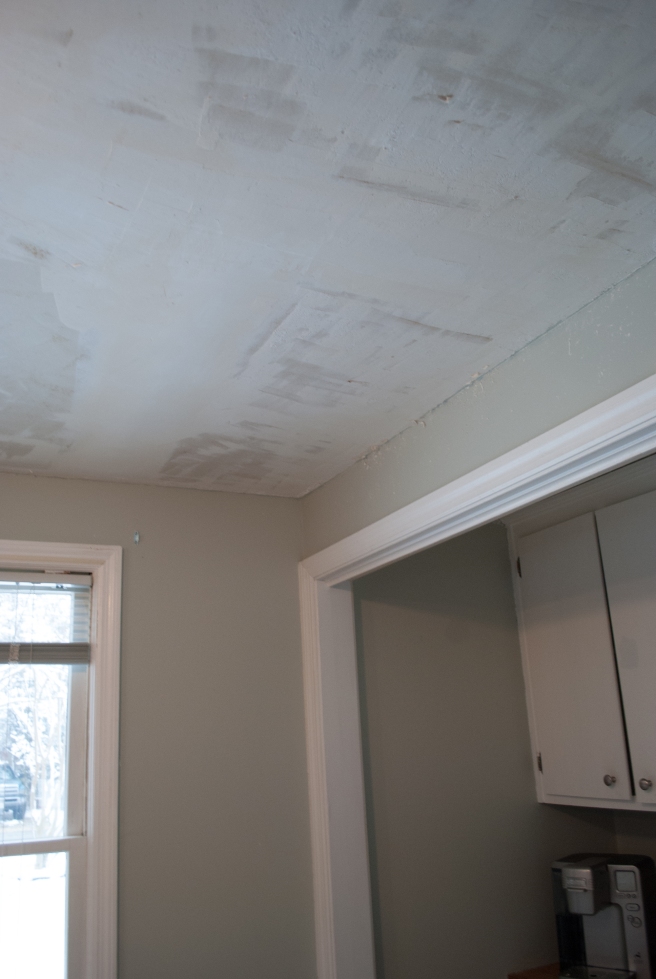
Since we are taking out the wall, we thought it made sense to address the really bad texture on the ceiling.  It’s just inches of joint compound gobbed up there, making the low ceilings feel even lower.  We talked to several different folks for advice.  Some said scrape and sand it off, others said to hire someone to rip it all down and start again.  Given this was an unexpected renovation, we decided to give the scraping a shot.  Best case scenario, we could save some money, worst we were only out some sweat equity.

To start, we sprayed an area with warm water. (Actually, first Hubs got on some old flight gear.  I think it might make him feel like the Maverick of home improvement.)

DSC_0269


This is where the putty knife comes in.  We tried a couple of different tools, but we found that some warm water, 10 minutes of wait time, and a putty knife seemed to work best.  This stuff was CRAZY thick in some places, so we often had to take several passes of water, wait, scrape in order to get this junk off.

DSC_0262

DSC_0276 DSC_0266 DSC_0274

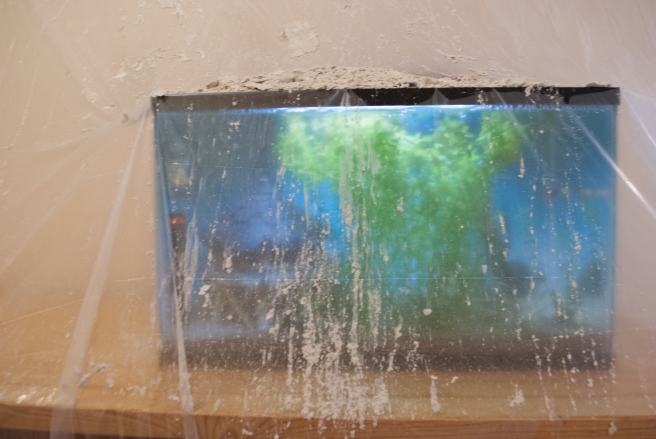
We got a lot off, but we will definitely need to go back to patch and sand.  We figure, for a Phase 1 reno, it was worth it.  The total cost was about $10 for drop clothes for the kitchen and entry. And boy, did we need them.  This is super messy work.

DSC_0273 DSC_0283 DSC_0278


We did hit a pretty significant snag in the hallway.  There seems to be a huge section where the previous owners did some kind of patch work. The drywall itself was so uneven that there was nothing we could do to save it.  We plan to have our contractor address this part of the project for us. In the meantime, we started to remove some of the old cabinets that were in the laundry area.

DSC_0289

We’ll finish ripping those out these week, and then we’ll start ripping down drywall.  Our contractor is going to help us move the electrical boxes in the wall, and is going to do the patchwork to get it all ready for paint and primer.  Then it will be ready for new floors and new color!  Woot!  While we weren’t planning on this, it feels good to take some steps to bring this funky little house out of the 80’s and into 2014.

What about you guys? Any unexpected DIY going on out there?